Checking for malware on a Mac means verifying whether malicious software is running, persisting, or communicating without authorization—using macOS built-in defenses, manual inspection, and trusted security tools. Apple’s XProtect, Gatekeeper, and notarization block known malware automatically, while process, persistence, and network inspection help detect suspicious activity that may bypass signature-based defenses. A reliable check combines system visibility, behavioral signals, and verification, not just a single scan.
Built-In macOS Malware Protections You Should Verify First
Before installing anything, confirm that macOS’s native protections are active:
- XProtect automatically checks apps against known malware signatures when they’re launched or modified.
- Gatekeeper & Notarization restrict execution to signed and notarized software, reducing accidental execution of malicious binaries.
- System Integrity Protection (SIP) prevents unauthorized modification of critical system locations.
These layers operate silently and are designed to stop common threats early, but they are not designed to answer the question: “Is my Mac already compromised?”—which requires inspection and verification.
Step-by-Step Guide: How to Manually Check for Malware on Mac
This section is a practical, engineer-friendly checklist for confirming whether a Mac is running malware, has persistence mechanisms installed, or is exhibiting suspicious network behavior. The goal is not “run one scan,” but to collect enough signals to make a confident call.
Step 0 — Prepare a Clean Baseline (5 minutes)
Before you start, reduce noise and preserve evidence:
- Disconnect from the network (Wi-Fi off) if you suspect active compromise.
- Record system context (macOS version, uptime, time of symptoms).
- If possible, avoid rebooting until you’ve checked running processes and connections (reboot can destroy volatile evidence).
Quick context capture:
باش
sw_versuptime date
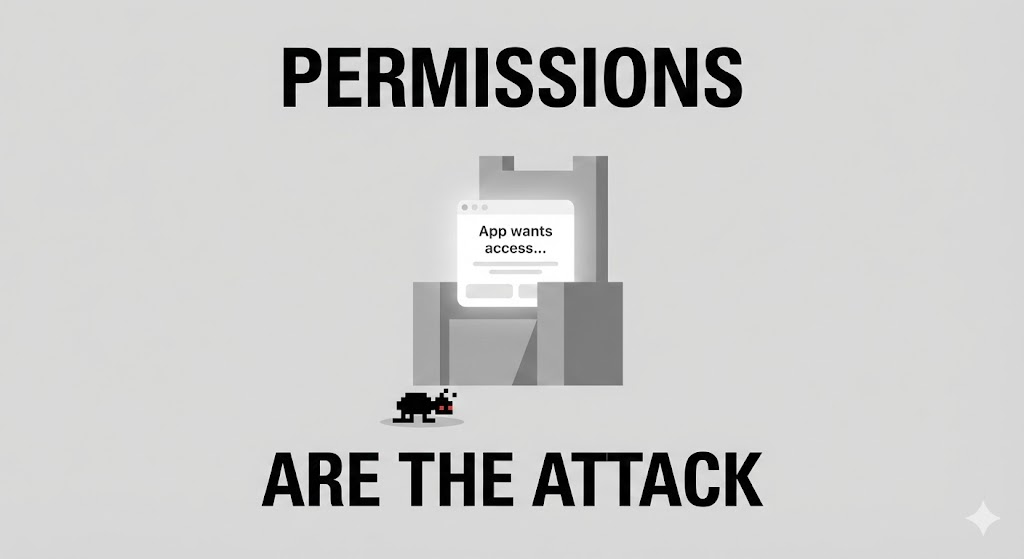
Check for Obvious Persistence: Login Items and Background Services
Most consumer-grade macOS malware persists via login items or background launch mechanisms.
- Inspect login items:
- System Settings → General → Login Items
- Remove anything you don’t recognize or can’t justify.
- List what macOS is launching for your user session:
باش
osascript -e 'tell application "System Events" to get the name of every login item'
If you see an unfamiliar name, don’t delete blindly yet—first locate the executable path in the next steps.
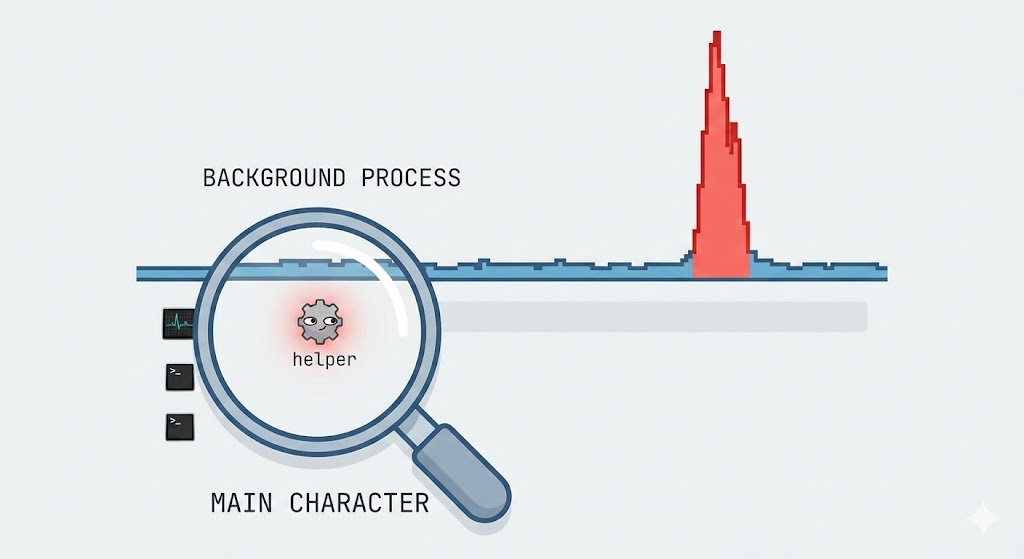
Identify Suspicious Processes (Who’s Running What?)
Open Activity Monitor and sort by CPU and Memory, then do the same from Terminal for precision:
باش
ps aux | headps aux | sort -nrk 3 | head -20 # top CPUps aux | sort -nrk 4 | head -20 # top memory
What to look for:
- Processes with random-looking names
- High CPU usage while idle
- Multiple copies of the same unknown process
- Processes owned by unexpected users (root vs your user)
If you find a suspicious process, capture details:
باش
PID=<paste_pid_here> ps -p "$PID" -o pid,ppid,user,etime,%cpu,%mem,command
Then locate the executable:
باش
lsof -p "$PID" | head -50
Validate the Binary: Signed? Notarized? Where Is It Located?
A high-signal check is whether a suspicious binary is properly signed and (often) notarized.
First find its path (from the prior step), then:
باش
BIN="/path/to/suspicious/binary"codesign -dv --verbose=4 "$BIN" 2>&1 | head -60 spctl --assess --type execute --verbose=4 "$BIN" 2>&1 | head -60
Red flags:
- Unsigned / ad-hoc signed
- Installed under suspicious locations:
/tmp,/private/tmp/Users/Shared- hidden directories under
~/Library/
- “Developer ID” that doesn’t map to the expected vendor for the software you think it is
Also check file metadata:
باش
ls -lah "$BIN"stat "$BIN"
If creation/modify time matches the start of symptoms, that’s meaningful.
Check Persistence Mechanisms (Most Reliable Malware Signal)
Malware that disappears after you kill it but returns later almost always has persistence.
LaunchAgents and LaunchDaemons
باش
ls -lah ~/Library/LaunchAgentsls -lah /Library/LaunchAgentsls -lah /Library/LaunchDaemons
Inspect suspicious .plist files:
باش
PLIST="~/Library/LaunchAgents/com.suspicious.agent.plist"plutil -p "$PLIST"
Red flags inside LaunchAgents:
- ProgramArguments referencing binaries in user-writable paths
- Base64 blobs, long obfuscated command strings
- Re-spawn patterns / keepalive loops
Cron and periodic tasks (less common, still worth checking)
باش
crontab -lsudo crontab -lls -lah /etc/periodic
Check Browser Hijacking and Adware Footprints
Even “non-root” macOS malware often targets browsers.
Chrome extensions:
باش
ls -lah ~/Library/Application\\ Support/Google/Chrome/Default/Extensions
Safari extensions:
باش
ls -lah ~/Library/Containers/com.apple.Safari/Data/Library/Safari/Extensions
Also verify whether proxies or DNS were altered (common adware tactic):
باش
scutil --dns | head -120 networksetup -getwebproxy "Wi-Fi"networksetup -getsecurewebproxy "Wi-Fi"
If you see unknown proxy settings enabled, that’s a major compromise indicator.
Check for Unexpected Network Activity (Beaconing, C2, Data Leakage)
Even if there is no inbound listener, malware often establishes outbound sessions.
List active connections:
باش
netstat -anv | grep ESTABLISHED | head -50
Tie connections to processes:
باش
sudo lsof -iTCP -sTCP:ESTABLISHED -n -P | head -80
Red flags:
- Unknown processes connecting repeatedly
- Connections to unusual ports or unfamiliar IP ranges
- Persistent connections while the machine is “idle”
Check Recent Downloads and Quarantine Events
Many macOS infections start from a downloaded payload.
Review common download locations:
باش
ls -lah ~/Downloads | head -50
Quarantine attribute can show which files were downloaded from the internet:
باش
xattr -l ~/Downloads/* 2>/dev/null | head -80
Verify System Security Posture (Don’t Skip This)
Confirm key settings haven’t been disabled:
- Firewall status:
باش
/usr/libexec/ApplicationFirewall/socketfilterfw --getglobalstate
- Gatekeeper status:
باش
spctl --status
If Gatekeeper is disabled unexpectedly, treat it as a serious security regression.
Decide: Clean, Suspicious, or Compromised (Practical Triage)
A practical triage model:
- Likely clean: no suspicious processes, no persistence, no unknown connections
- Suspicious: one weak signal (odd process OR odd extension) but no persistence
- Likely compromised: confirmed persistence + unknown binary + network beaconing
If you fall into the last category, proceed to safe removal.
Safe Removal Workflow (Minimal Risk)
If you’ve identified a malicious binary + persistence entry:
- Disconnect network
- Kill process:
باش
sudo kill -9 "$PID"
- Unload LaunchAgent (example):
باش
launchctl bootout gui/$(id -u) "$PLIST"
- Remove the plist and binary only after you’ve recorded paths
- Reboot and re-run steps 2, 4, 6 to confirm it’s gone
- Run a reputable anti-malware scan to validate clean state
Attack Example 1: Enumerating Suspicious Network Listeners (Verification, Not Exploitation)
Many macOS malware families expose a local or remote control channel. The following defensive verification command helps detect unexpected listening services:
باش
#List all listening network services on macOS sudo lsof -i -n -P | grep LISTEN
What this tells you:
- Which processes are accepting inbound connections
- Whether a background service is exposing a port unexpectedly
- Which binary owns the socket
ما أهمية ذلك: A clean Mac used for normal productivity typically has very few listening services. Unknown listeners are a strong signal to investigate further.
Defense Example 1: Correlate Listening Services to Signed Binaries
Once you find a suspicious listener, verify whether it’s signed and notarized:
باش
#Replace with the path to the suspicious binarycodesign -dv --verbose=4 /path/to/binary
Unsigned or ad-hoc signed binaries in user-writable directories deserve immediate scrutiny.
Checking Persistence: The Most Overlooked Malware Signal on macOS
Most macOS malware relies on LaunchAgents, LaunchDaemons, or scheduled tasks to survive reboots.
Attack Example 2: Common Persistence Locations Used by Malware
باش
`#User-level persistence ls ~/Library/LaunchAgents
System-wide persistence
ls /Library/LaunchAgentsls /Library/LaunchDaemons`
Anything unfamiliar here should be inspected. Malware often uses misleading names to blend in.
Defense Example 2: Inspect LaunchAgent Contents for Suspicious Execution
باش
#Inspect a suspected LaunchAgentplutil -p ~/Library/LaunchAgents/com.suspicious.agent.plist
Red flags include:
- Execution of binaries from
/tmp,/Users/Shared, or hidden directories - Obfuscated or base64-encoded arguments
- Re-spawn loops designed to survive termination
Using Safe Mode to Reduce Noise and Isolate Malware
Booting into Safe Mode prevents many persistence mechanisms from loading. In Safe Mode:
- Fewer background processes run
- Malware persistence often fails to activate
- Manual inspection becomes easier
If suspicious behavior disappears in Safe Mode and returns on normal boot, persistence is likely involved.

Attack Example 3: Simulated Recon of Browser-Based Malware Artifacts
Browser hijackers and adware frequently modify profiles and extensions. The following checks help confirm tampering:
باش
`#Chrome extensions ls ~/Library/Application\ Support/Google/Chrome/Default/Extensions
Safari extensions
ls ~/Library/Containers/com.apple.Safari/Data/Library/Safari/Extensions`
Unexpected extensions or recent modification times can indicate adware or spyware activity.
Defense Example 3: Hash and Track Changes to Critical Directories
Security-minded users can baseline key directories and detect changes over time:
باش
`#Create a baseline hash listfind ~/Library/LaunchAgents -type f -exec shasum {} \; > ~/launchagent_baseline.txt
Later, compare for changesfind ~/Library/LaunchAgents -type f -exec shasum {} \; > ~/launchagent_current.txt
diff launchagent_baseline.txt launchagent_current.txt`
This approach mirrors how endpoint security tools detect persistence drift.
When (and Why) to Use Dedicated Malware Scanners for Mac
Manual inspection is powerful but time-consuming. Reputable Mac-focused malware scanners add value by:
- Detecting known adware and spyware families
- Scanning browser artifacts and extensions
- Removing persistence mechanisms safely
Independent reviews consistently highlight tools like Malwarebytes, Bitdefender, Intego, and Avast for macOS due to their detection accuracy and update cadence.
Use scanners as confirmation tools, not replacements for understanding system behavior.

Advanced Signal: Unexpected Outbound Network Activity
If malware isn’t listening locally, it may still beacon outward.
باش
#Monitor active outbound connectionsnetstat -an | grep ESTABLISHED
Correlate IP addresses with process IDs using lsof and investigate connections to unknown regions or hosting providers.
How to Remove Malware Safely Once Confirmed
Once you’ve verified malicious activity:
- Disconnect from the network
- Terminate the malicious process
- Remove persistence mechanisms
- Delete the associated binary
- Reboot into Safe Mode and re-verify
- Run a full scan with a trusted tool
Avoid deleting system files blindly—incorrect removal can destabilize macOS.
Preventing Reinfection Going Forward
- Keep macOS fully updated (XProtect signatures are updated automatically)
- Avoid installer prompts from unknown websites
- Limit browser extensions to those you truly need
- Periodically review login items and persistence directories
- Treat “free utilities” with caution—they remain a common malware vector
الخاتمة
Knowing how to check for malware on Mac is less about fear and more about verification. macOS provides strong default defenses, but real confidence comes from understanding what is running, what persists, and what communicates externally. By combining built-in protections, manual inspection, and targeted automation, you can confidently determine whether your Mac is clean—and keep it that way.